In June 2021, I visited my local electronics retailer (Saturn Mainz) and had the luck to buy a discounted b-stock “MSI RTX3080 gaming x trio” graphic card, with damaged packaging for ~ 1100€.
I didn´t think about that long and purchased it immediately.
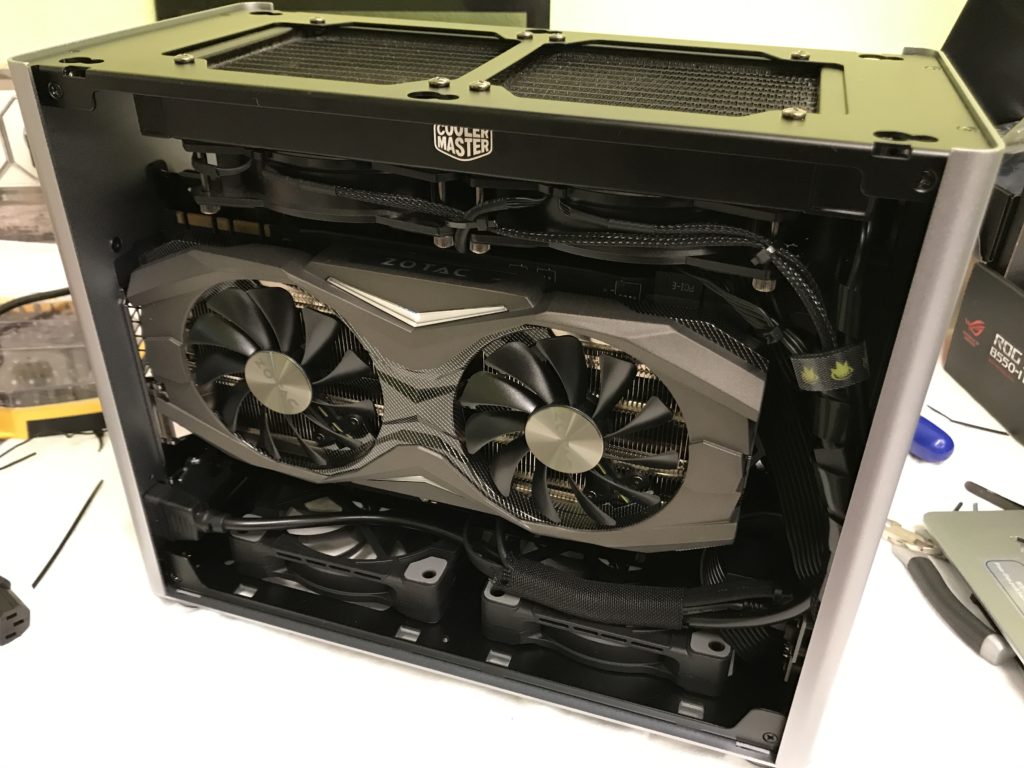
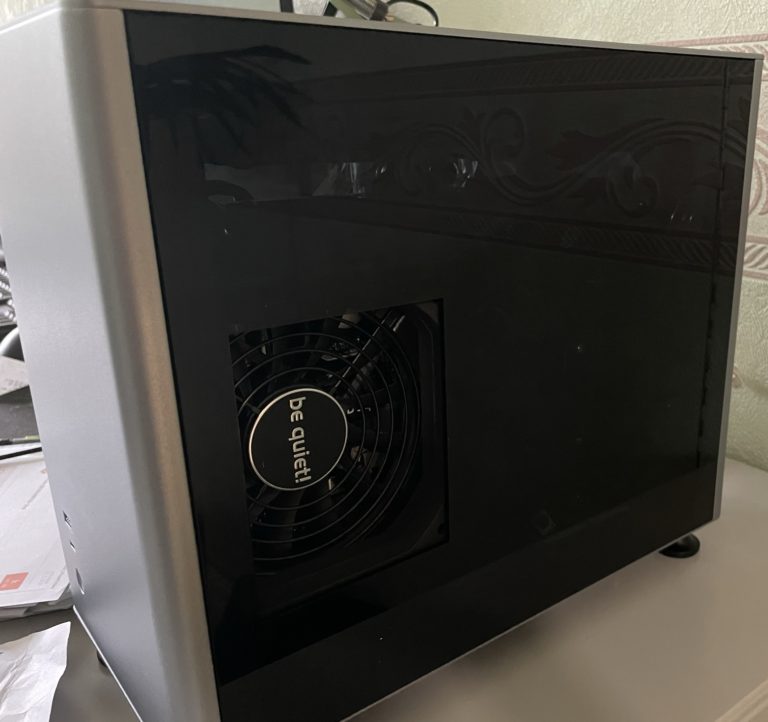
At this time, I already owned the Jonsbo A4 mini-ITX case, which is an amazing case made with excellent workmanship. And it was pretty small with it´s 15.7 liter space. So I definitely wanted to keep this case also with my new GPU.
The official maximum supported length of GPU for this case is: 325mm – and the MSI RTX3080 had 323mm. So from the raw numbers it should be possible.
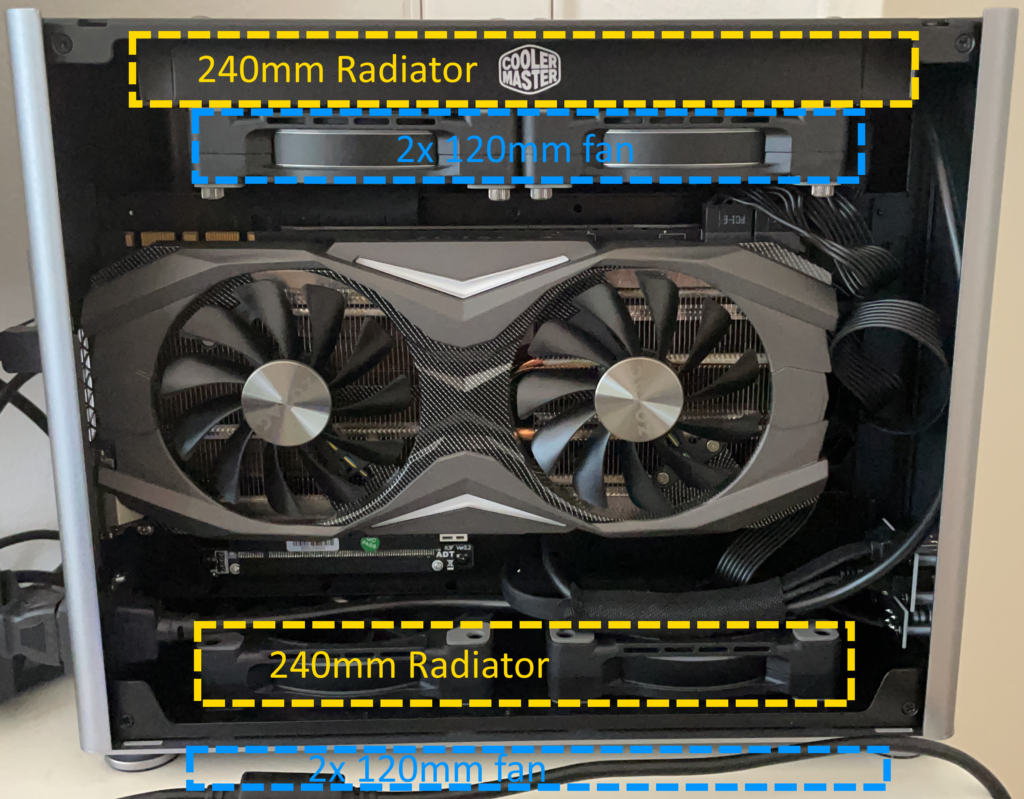
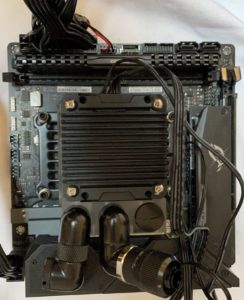
As you can see in the images on the left-hand side, there wasn´t so much space left in my previous build and it was already getting really hot if under load. So my main thoughts and skepticism was about the cooling…
Watercooling is the way to go
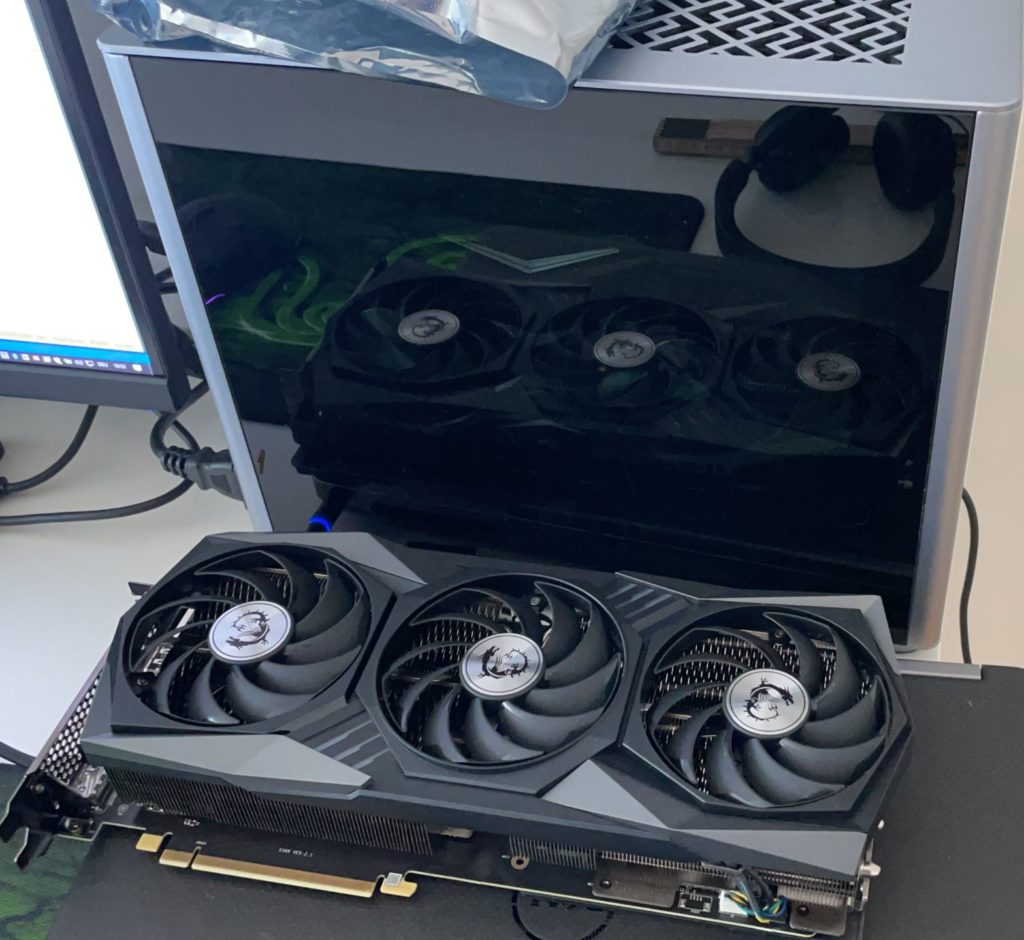
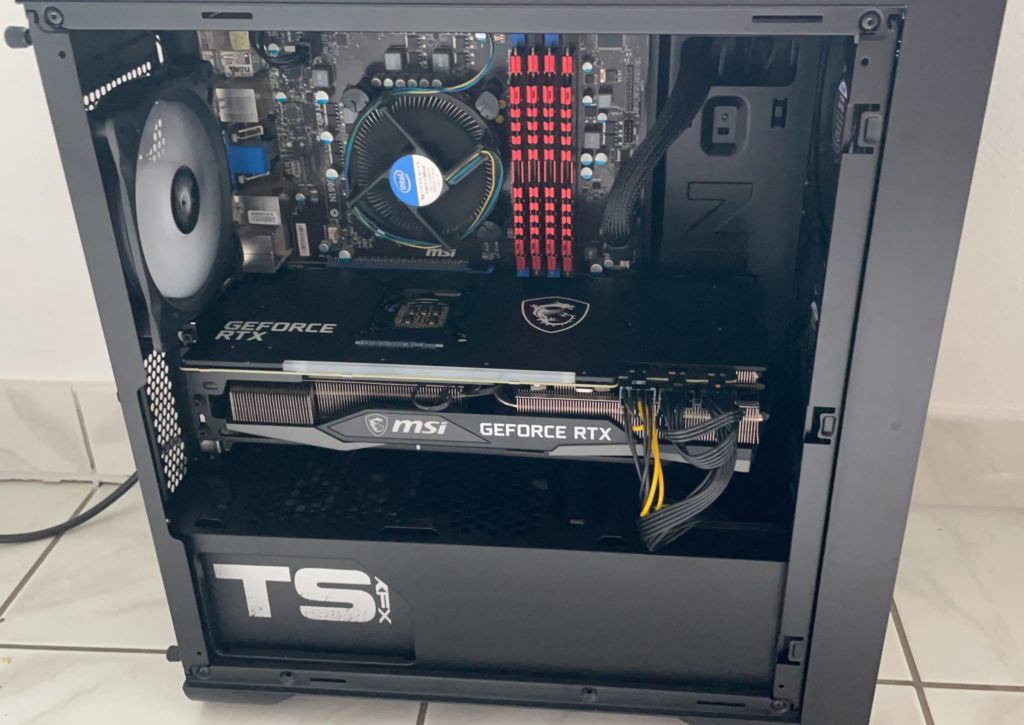
Before I started to dismantle my Jonsbo case (which was also my main PC for development/gaming), I took the RTX3080 card into my secondary computer for some load and temperature testings.
That build was using a Zalman M3 micro-ATX case, which had plenty more space (39 liter) and it was an ease to install the RTX3080. I´ve run some load tests with 3DMark and even with this big case (and it´s 4 case-fans), the RTX3080 was getting pretty hot and the whole computer made itself noticeable (noisy).
So I started researching how to stop that beast (RTX3080) to produce so much noise- and the only solution was liquid-cooling, especially cause i wanted to embed that card in my super tiny Jonsbo A4 case later…This should be my first custom watercooling system – so after month of researching and planning, i´ve ordered the first parts online.
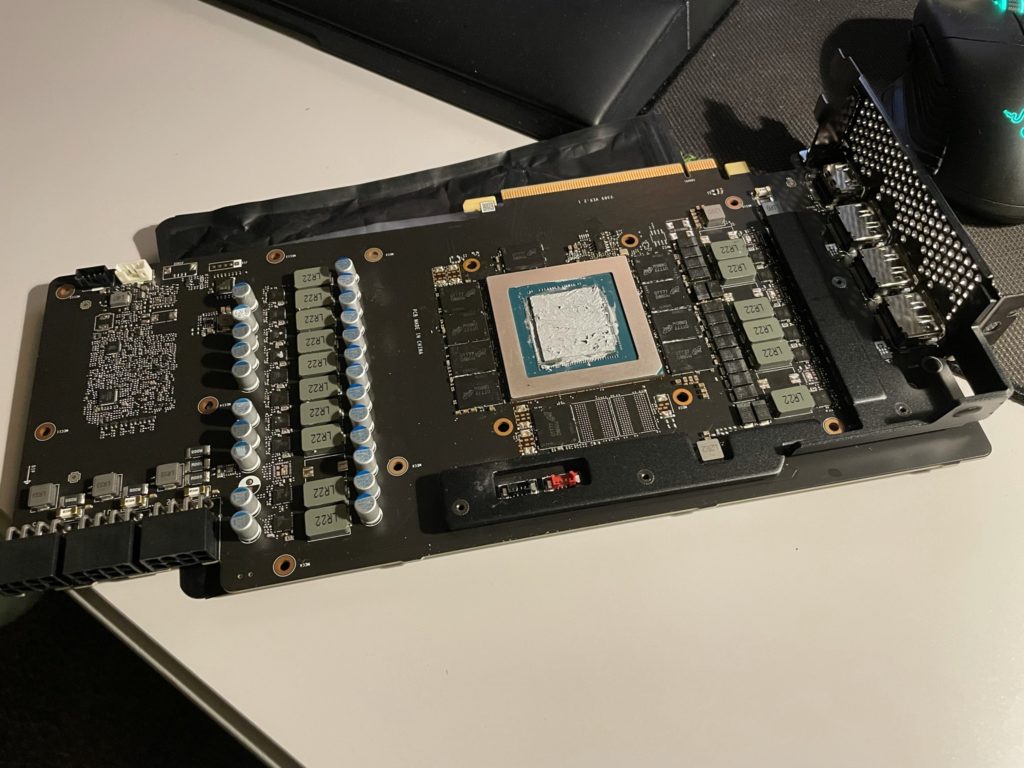
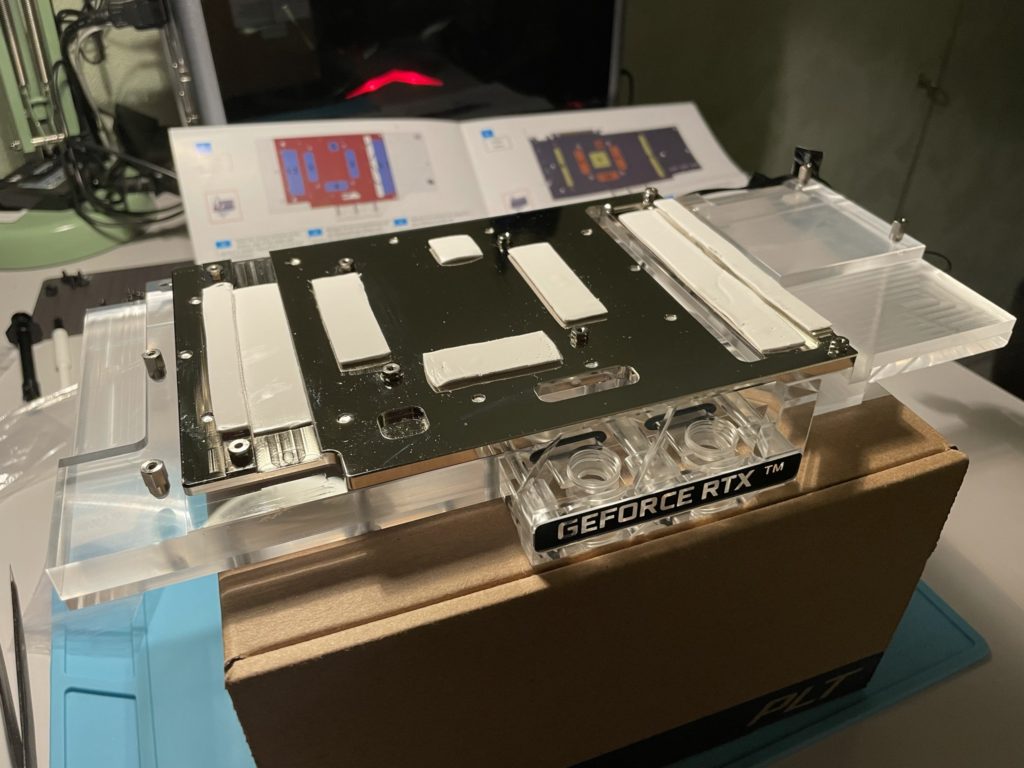
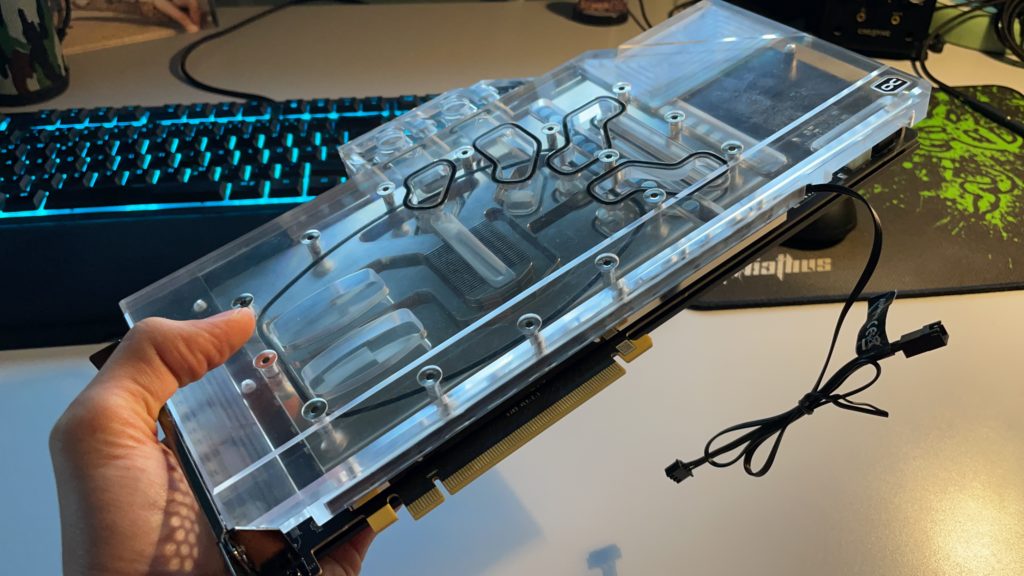
Luckily, I´ve found the “Alphacool Eisblock Aurora” GPU block from a private seller for just 70 €, so the first part was bought. Couple of days later, I removed the 3-fan cooling system on top of the RTX3080 and with the help of some youtube videos, I´ve sticked on the cooling pads onto the GPU block and screwed everything together. From now, my new RTX3080 was ready to get liquid-cooled.
RTX3080 load test (Secondary case)
Naked RTX3080
Thermal pads sticked on
Finished RTX3080 GPU block
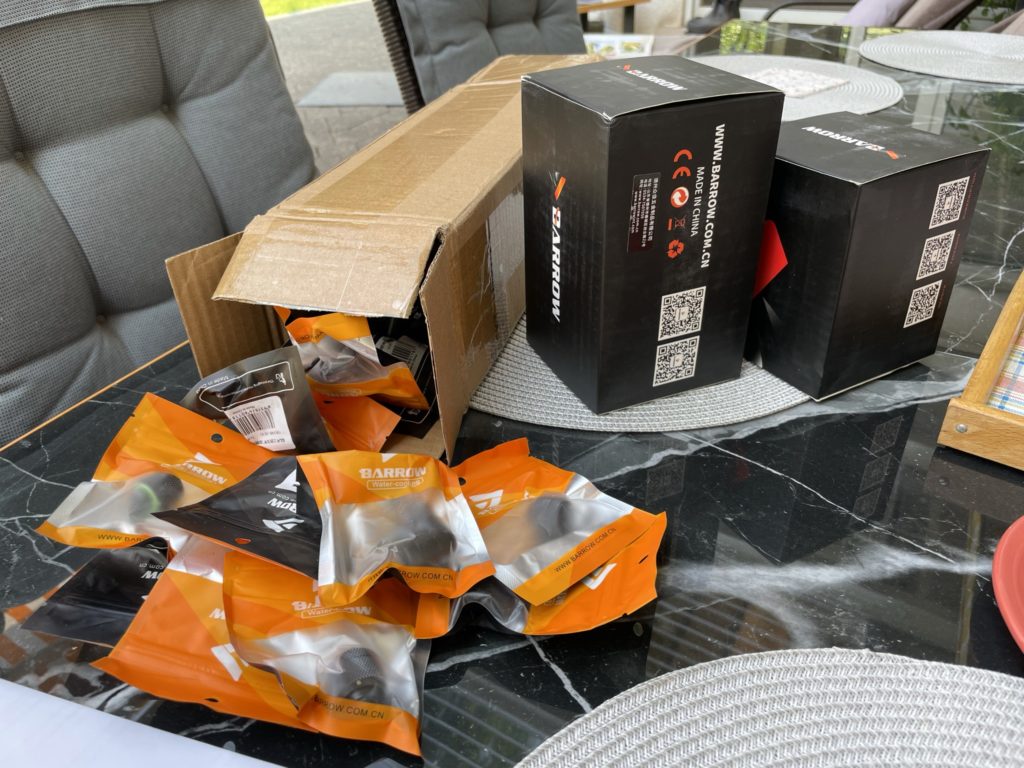
3 weeks later, the fittings & adapters arrived
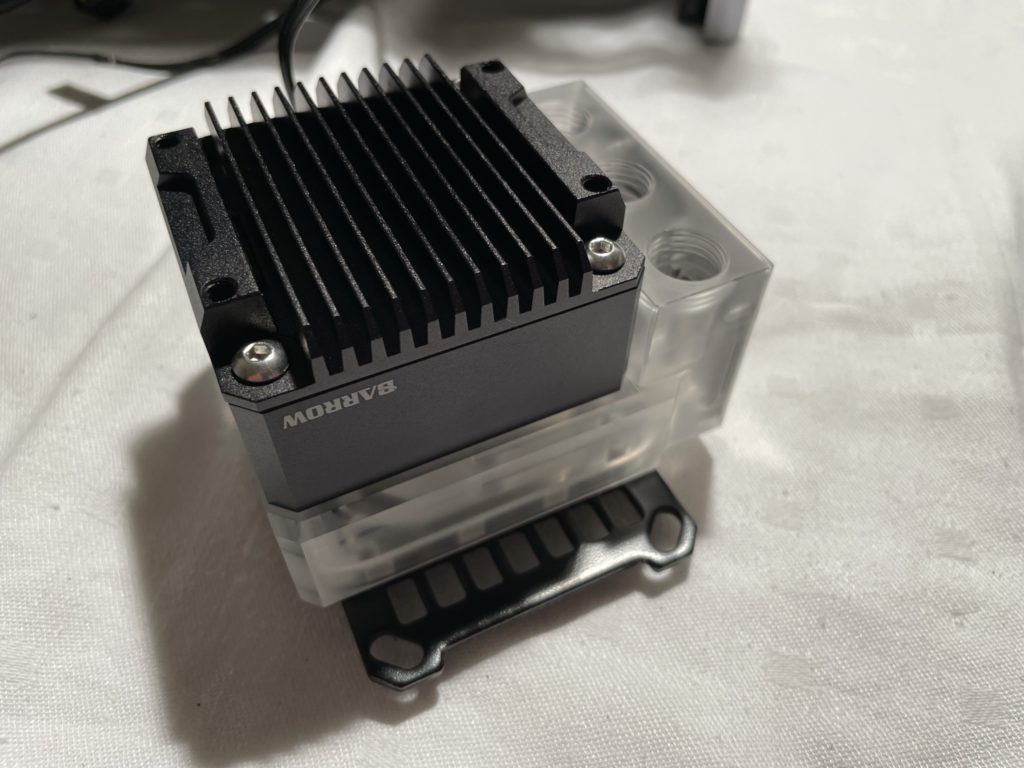
Barrow CPU-block with pump and reservoir
Order more parts from Shenzhen
When planning a custom liquid-cooling system, you can select hard-tubes (PETG plastic, which only bend with hot temperature) or soft-tubes (can be easily bend and are flexible). I´ve decided for soft-tubes with diameter of 16/10mm (outer/inner).
The fittings and adapters are expensive in german shops- so I´ve ordered them from Aliexpress. There are several brands, but I´ve selected the Barrow parts, which are from great quality:
10x Barrow G1/4 plug (to close e.g. unused outputs on radiator)
Beside of these fittings and adapters, I´ve also ordered the “Barrow CPU pump block reservoir” (~110€) – which was a very good invest. It unifies the CPU block together with a small water-reservoir and an embedded waterpump inside. Perfect for small form-factor configurations like mine.
We need more space
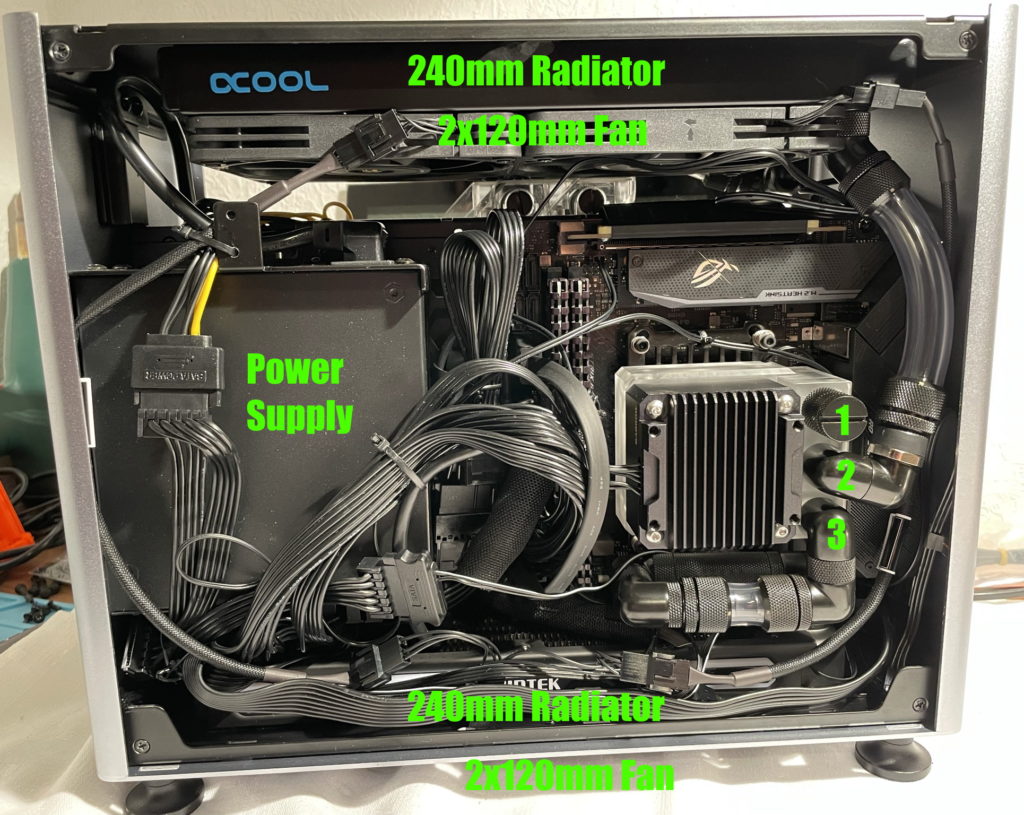
The problem with the Jonsbo A4 case is, it supports only 1x 240mm radiator on top of the case. But that would never be enough to cool down my AMD Ryzen 7 3700X and the new RTX3080. I would need at least 2x 240mm radiators in my custom liquid-cooling loop to keep that cool.
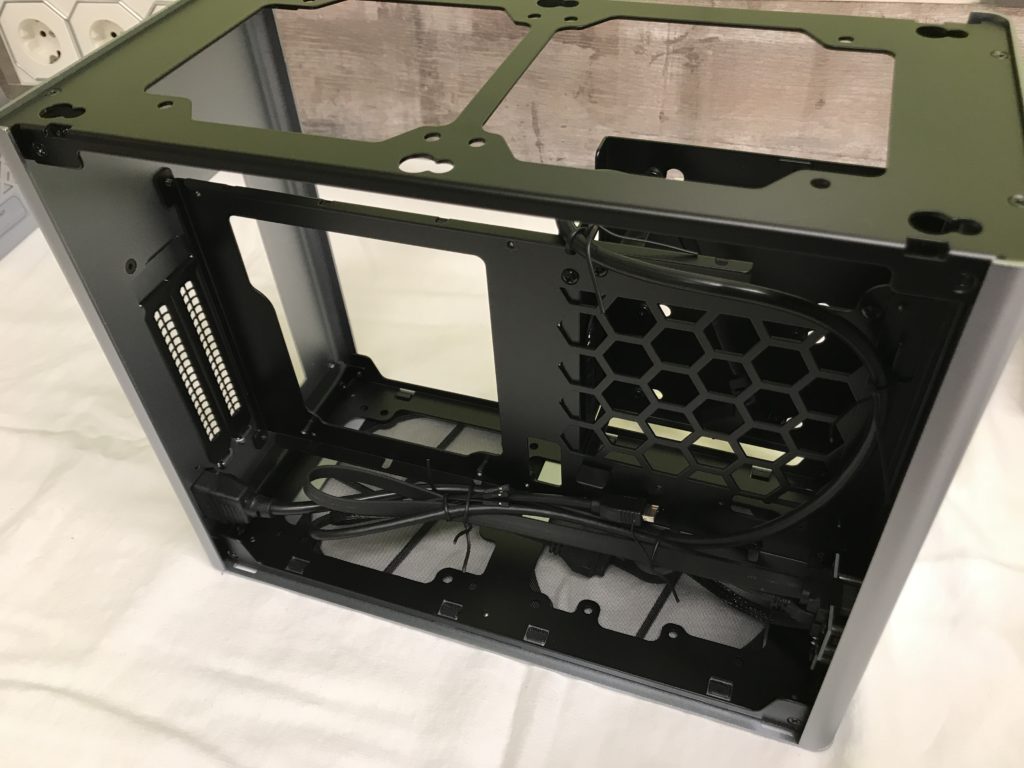
In the image on the right-hand side, you can see that I´ve planned to install the second radiator on the bottom of the case- and screw two slim 120mm fans outside of the case (bottom).
Starting the engine
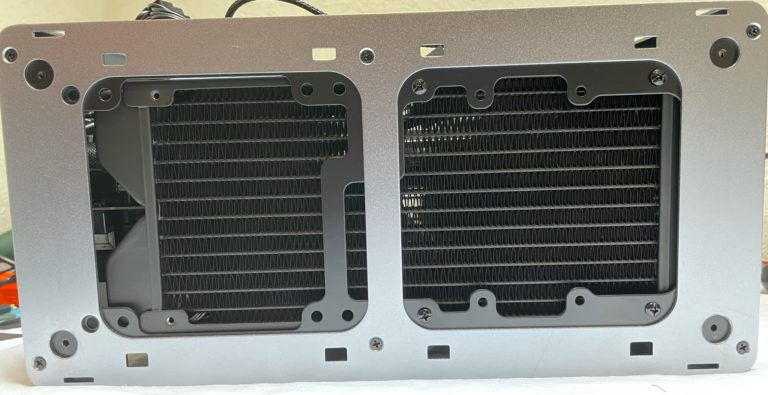
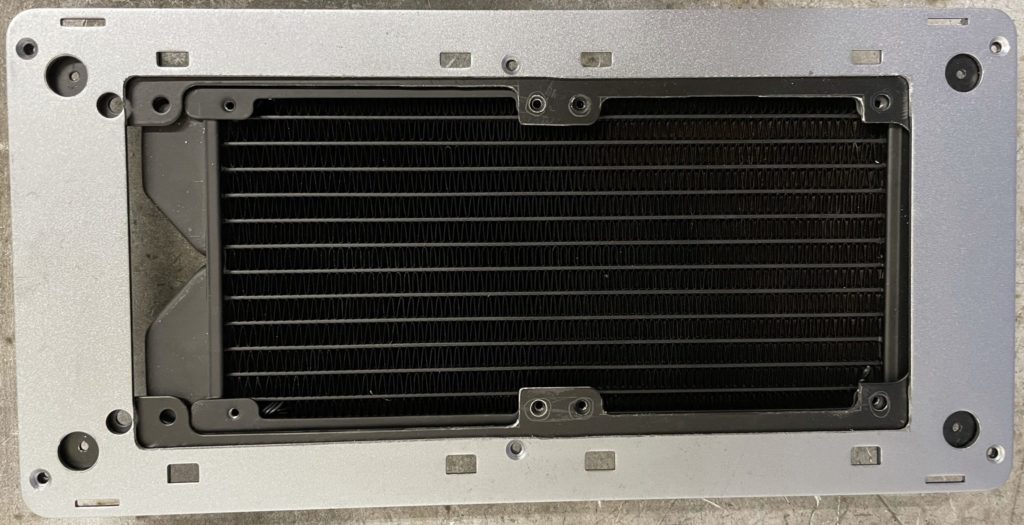
In the following picture, you can see the bottom of the case with an installed 240mm radiator inside. Most of the bottom is covered by the fan mount- to make the airflow more efficient, I needed to cut the inner part of the bottom away, to let the radiator breathe in more air:
Bottom part - before getting to know the drilling machine
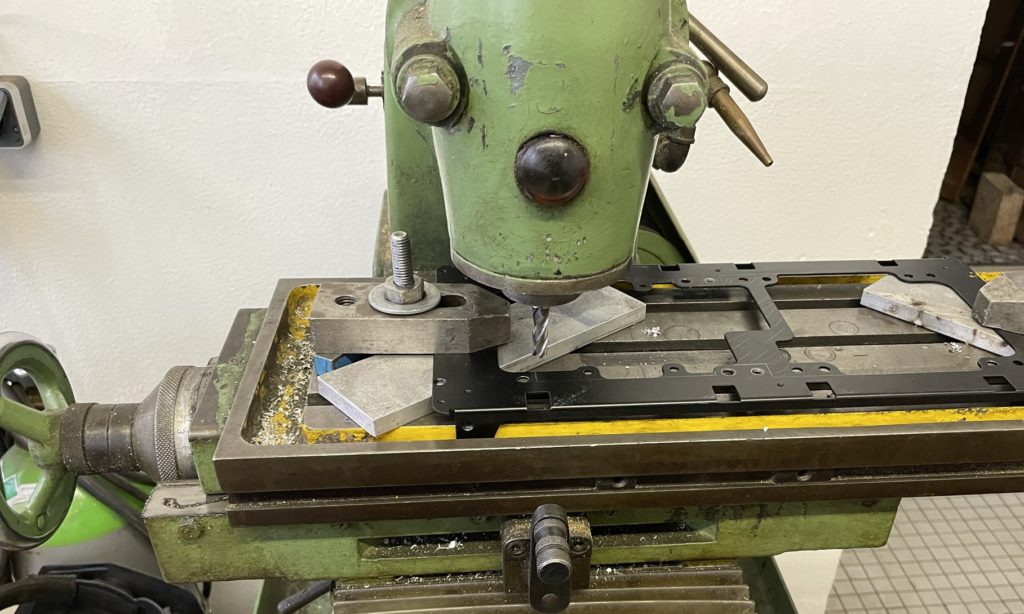
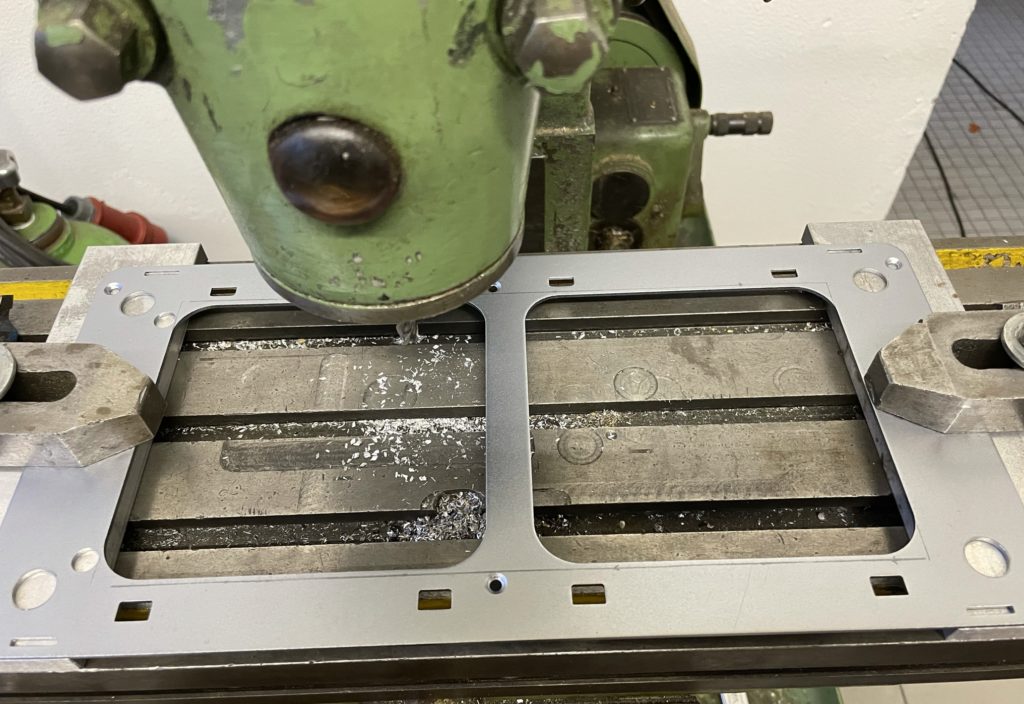
Fortunately, I had access to a metal milling machine, which allowed me to cut the bottom aluminium of the case with ease.
No sooner said than done, after marking the bottom parts of the case, I´ve clamped them into the milling machine and converted them into dozens of metal chips.
Final bottom part - ready for the fans
Lets get some bigger shoes
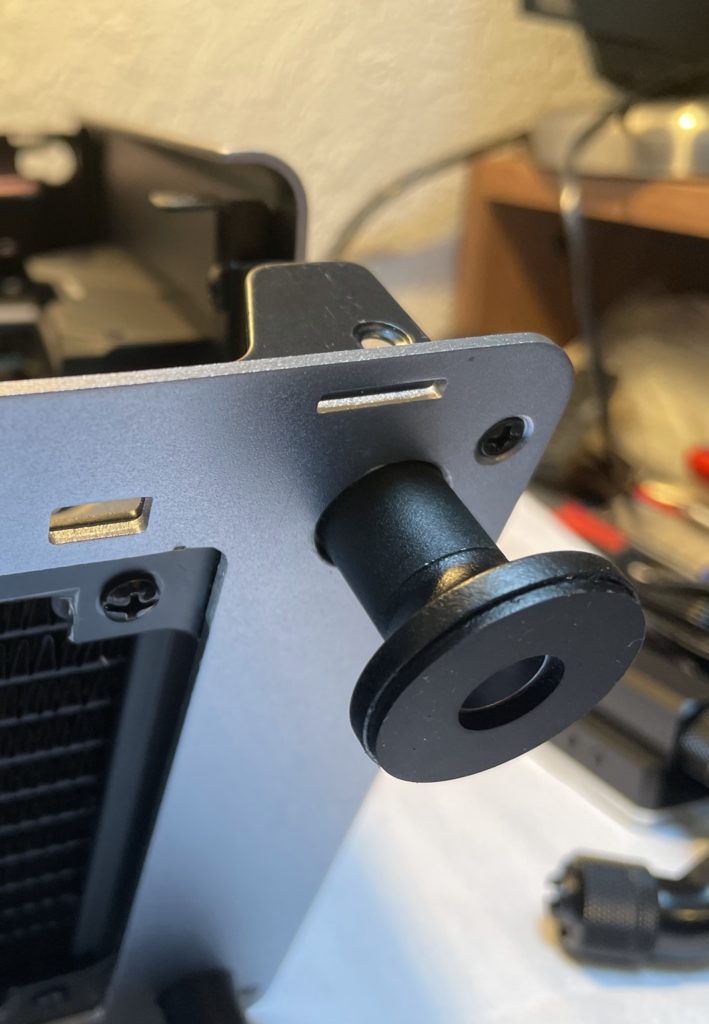
Given the fact of attaching new fans on the bottom of the case, we need more space below, otherwise, the fans would lie on the desk (Which isn´t much effective, cause they couldn´t breathe air any longer).
So I bought a common aluminum round pipe (15mm outer diameter) and cut it into 2cm long pieces. Then I brushed the whole base with black matte color and inserted a long screw into the bottom of the case and fixed it with a nut.
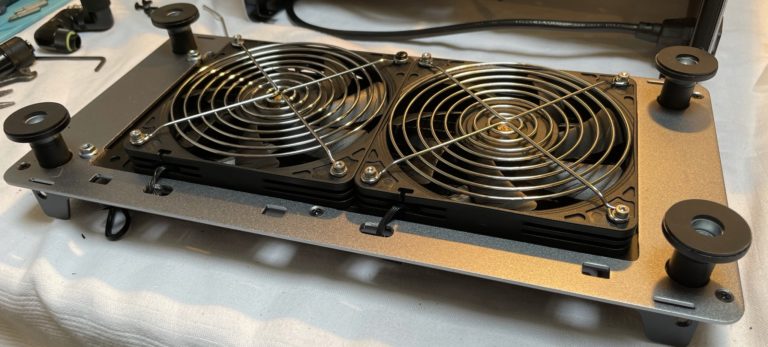
Then I´ve mounted the 2x120mm Noctua Slim fans on the bottom and added a grill to prevent things from getting absorbed and damaging the fans.
Finalized bottom part with 2x120mm fans and grills
Put all parts together
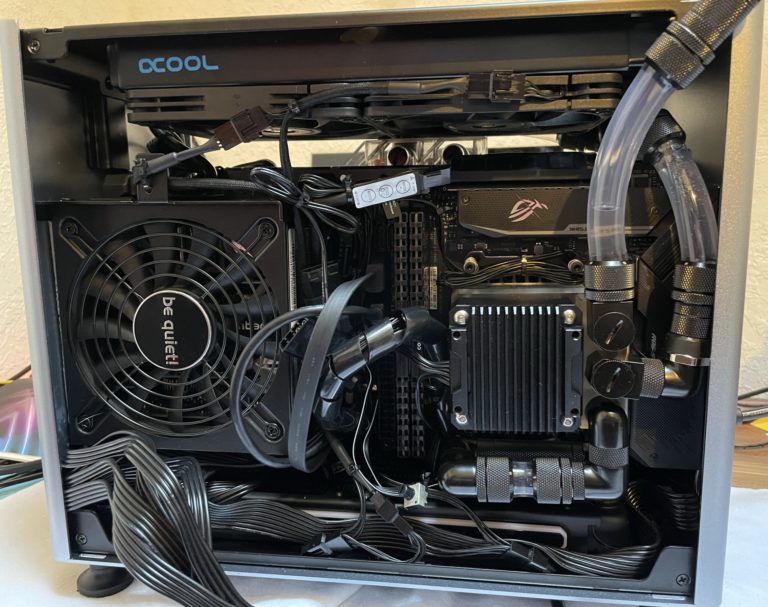
At first, I´ve attached the Barrow CPU and pump block onto my Asus ROG STRIX B550-I mainboard. Then inserted the memory modules and inserted the whole sandwich into the case.
Afterward, I´ve added the GPU block into the case and attached it to the mainboard (the Jonsbo A4 case uses a riser-cable, to connect the GPU from the front side of the case to the mainboard on the rear).
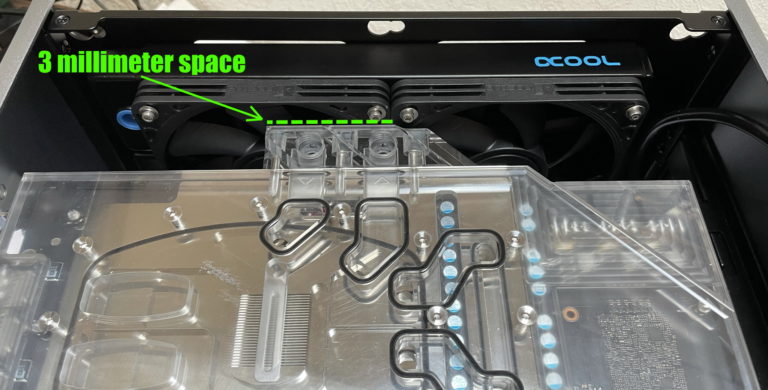
As you can see in the following image, there isn´t so much space left between the top of the GPU block and the top fans. I´ve also chosen 2x120mm Noctua Slim fans and a very thin 240mm radiator: Alphacool Nexxxos ST25, otherwise, the GPU block wouldn’t fit:
Mainboard with CPU pump block
Not much space, but it fits
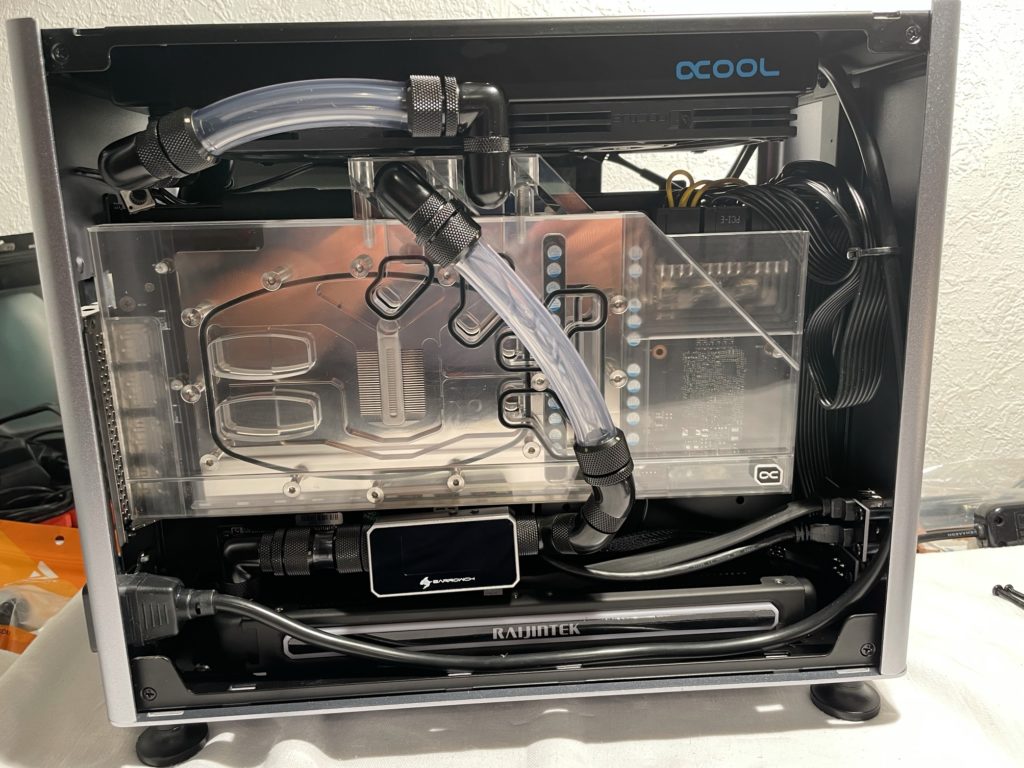
After all, hardware was embedded into the case, I´ve started with cutting the 16/10mm flexible tube into smaller parts, to connect the radiators, GPU and CPU block. Then I´ve screwed the fittings on the tube endings, attached them into the cooling system, and filled them with the liquid.
It was about 1 liter of Double Protect Ultra clear and took me about one hour to get the liquid in the whole system. As the CPU block has a very small water reservoir, I had to fill the liquid sip by sip, turning on the pump and shaking the whole case around own axis to get the air out of the system and the radiators.
1 (fill port), 2 (input), 3 (output)
Replacement of rear glass
In theory, at this time, the build was finished and i could close that chapter- but…
After starting the whole system, everything was fine- the system ran stable and almost without any noises. So i started a quick benchmark with 3DMark to heat that cube up. And after some minutes, I heard a very loud fan noise from the inside of the computer – but the 4x Noctua fans were almost off.
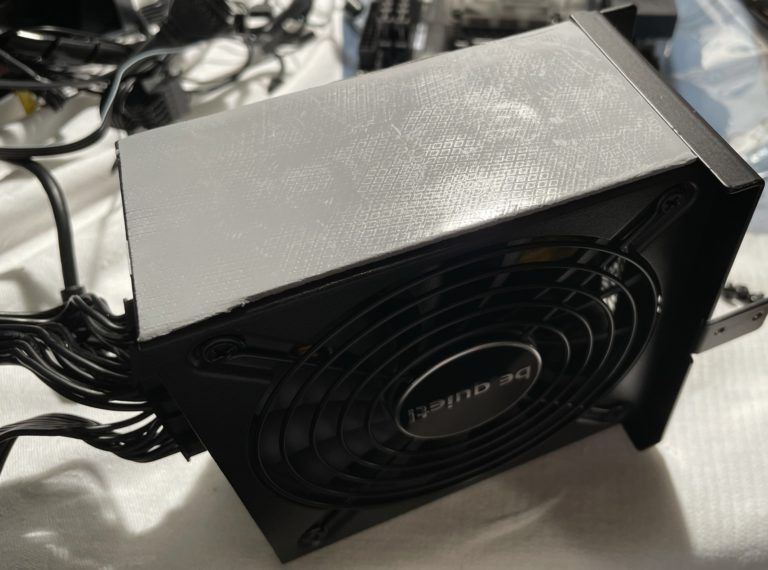
Then I´ve identified that the PSU was making that noise- because one big design mistake of the Jonsbo A4 case is, that the PSU is covered in the center of the case with two glasses (front/rear plate), making it impossible to breathe…
So I needed to flip the PSU, to allow it to breathe fresh air from outside. To achieve this, the rear glass panel needs a big hole.
The glass plates of the Jonsbo A4 are made of security glass. The problem is, that you can´t cut any holes or drill into security glass- it will just explode into thousands of small glass pieces (like the side window of your car at a crash). That´s what happened when I gave the glass to a local glazier´s workshop- even they couldn’t cut a hole into it.
As an alternative, I´ve ordered a piece of black-colored plexiglass (acrylglas) from eBay- it was a nice store (link here), they also made a laser-cut by my uploaded drawing, so the hole was perfect sized.
To maximize the heat sink of the PSU, I´ve ordered a big cooling pad and sticked it on the side of it. This way, the PSU can give the heat to the aluminium front of the case.
And to make sure that the 120mm fan would get only cool air from outside, I´ve ordered 2x Phobya fan shroud 120mm (10mm height):
PSU with cooling pad
Rear plexi glass with air cutout for PSU
Final thoughts and images
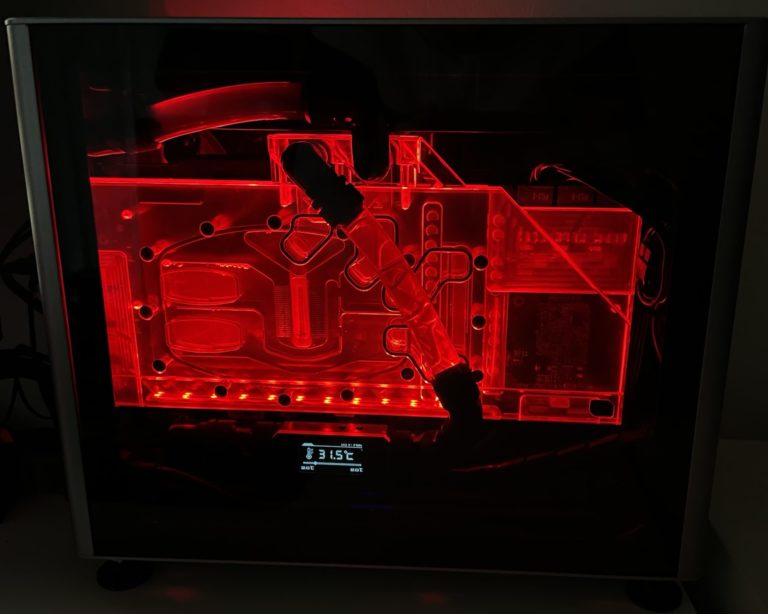
I´m very glad about that custom mITX build- it´s pretty silent and looks awesome. In office mode/surfing or programming, the fans are running with 18% – so you can´t hear if the system is powered on. The temperature is at 32-34° C in that mode.
When playing video games, the temperature will rise to 45° C and the fans need to work at 35-40 %. In this mode, you can hear the system, but it´s still not noisy and not producing so much noise as any of my air-cooled systems before. (With the headset you can´t hear the fans).
So yes- I can recommend anyone to build your own liquid-cooled system and would do this again.
Oh- one last sentence about the price tag. For upgrading my system from air-cooled into this liquid-cooled system, I had to pay roundabout 700€ – so it´s an expensive upgrade, which doesn´t give you more performance. Only less noise 🙂